
Clipper Race: Level 1 Training: Crewing Skills
It’s been almost a month since I completed my Level 1 Training, and in less than a week I’ll be departing for Level 2 and Level 3 back-to-back … so it’s definitely time to do a bit of a refresh and put down my thoughts!

What is covered on Level 1?
Level 1 focuses on “Crewing Skills”. It places emphasis on safety and basic seamanship. It has an approximate equivalence to the RYA Competent Crew qualification but … with this being the Clipper Race … it also introduces some of the practical aspects of spending weeks on board a yacht that will be expected of the Race Crew.
It’s a roughly 6-day course and the first couple of days are likely going to be marina based as familiarity is developed.
There is a lot to take in … whether you have prior sailing experience or none at all.
Kit requirements
Before I go into the details of the training, I thought it would be useful to touch on the kit requirements.
I’ve covered general kit and technical clothing a bit before, but this is now becoming a bit more specific and comprehensive for my race preparation.
Being Level 1, marina-based (you return to the marina in the evening if you have been out on the water) and sailing out of Gosport in the Solent, we don’t really require a “full” race kit and equipment pack.
However, I wanted to use the opportunity in training to start testing what was manageable in terms of kit … which kit worked well and was useful and which was redundant or a waste of space and weight … so I definitely overpacked for what was required.
For example, I had multiple pairs of gloves as I wanted to test a few out and I had some cold weather gear I probably wasn’t going to use at all …
We’ve been advised that we should try to keep our kit within the 20kg – 30kg range, and ideally in one large dry bag (excluding foul weather gear and sleeping bag). Once we have been allocated to a boat, skipper and team there will be discussions on the weight allowance as it is a tactical consideration.
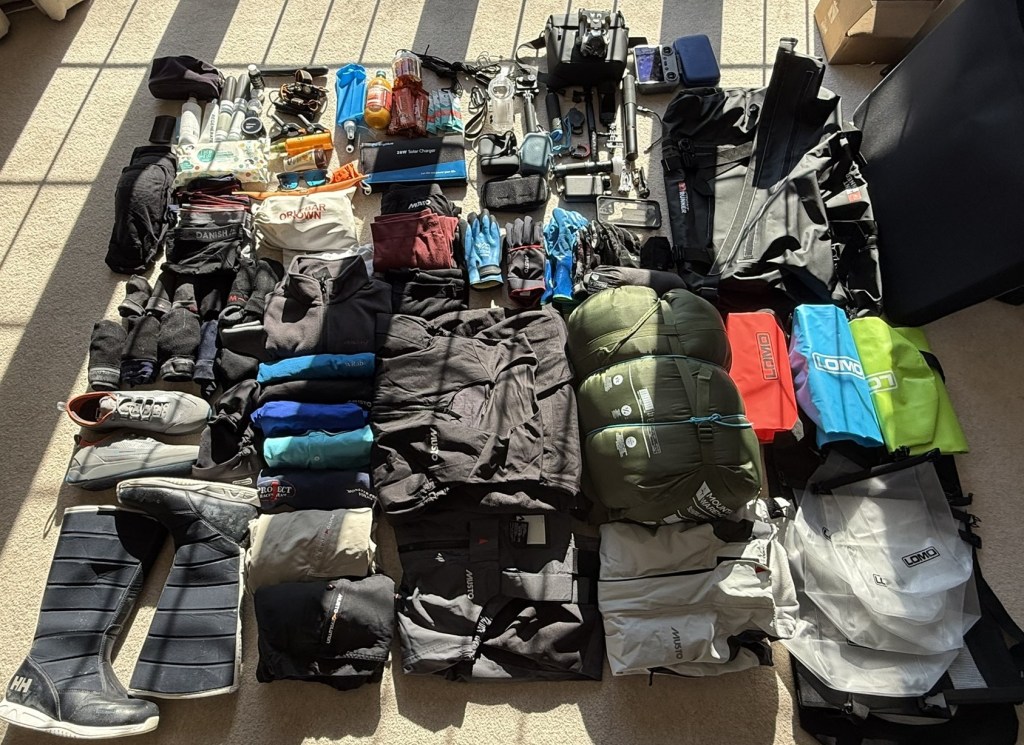
Below is my evolving packing list broken into categories. This is my current plan for the full circumnavigation, also compared with what I took for Level 1 and a few of notes on experiences and rationale.
I’ve been developing this with reference to the brief guidance from Clipper Ventures, to the Fierce Turtle blog, my own past experience and from discussions with some of the former Clipper participants and circumnavigators.
I’m sure there will be things I have missed and no doubt when I get back, there will be multiple changes …


My L1 kit bag came in at 21kg, which I think is fairly good going and reasonably reflective of what I might have on the race itself. You can see what it all looks like on my instagram reels!
I’m probably going to refine my choice of bags a bit:
- The larger heavy duty 10 and 12 litre LOMO bags with shoulder straps are great, but take up weight and are a bit bulky, so I may reduce these
- The 3L MaxiView bags are useful, but smaller than you think so I may get a few more 6L versions. As these are very lightweight, I might also pack a few spares. They certainly aren’t as durable though. Visibility of contents was pretty good
- The window bags aren’t that effective in the dark of the cabin (or “ghetto” as it is referred) and if you are using the red lights then the colour coding is a bit compromised. I think I need to get a reflective permanent marker of some sort to help labelling
Preparation for Level 1 and Course Content
Clipper Ventures has a fairly detailed 130+ page training manual for reading by crew, with a lot of useful content to help get a head start. I did make the effort to go through the Level 1 section, review the Crew Assessment (shared in advance by Clipper) to practice a few knots and brush up on some of the terminology on board.
Below is a screenshot summarising the key course content to be covered:

Key Course Content
It’s not possible to cover everything we did in a week of training on this blog, so I will touch on a few key areas.
Clipper also provides you with a set of “wet notes” … basically waterproof (we’ll see …) flash card on key steps of evolutions and safety etc. on board

Arrival
On the Friday afternoon, we met at the Clipper Ventures office which is located in Gosport Premier Marina.
For those driving, there is a car park with a discounted rate of £4 a day vs usual £15 a day, otherwise Gosport can be reached with a short ferry across from the Portsmouth side.
You get a great view of Spinnaker Tower from the marina!

There were 10 of us on my Level 1, ranging in age from mid 20s to (at a guess) mid-70s and with a range of experience from non-sailors to those who have their own boats … albeit being on a Clipper Racing Yacht is something quite different.
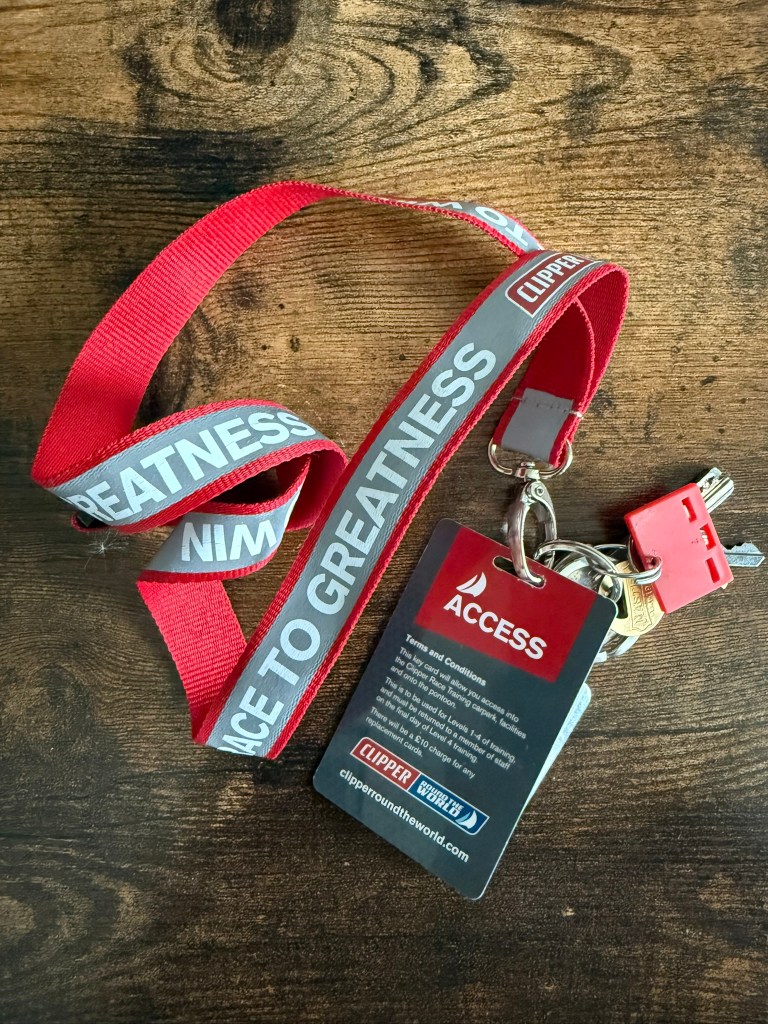
We were also issued with a card for access to the marina. Don’t lose it …
We were greeted by our Skipper and First Mate for the week (Nigel and Iain) and got our kit on-board for some initial familiarisation of the Clipper 68 which we would be using for training, while Iain kindly took “mother” duty to prepare our evening meal!
Roles on Board
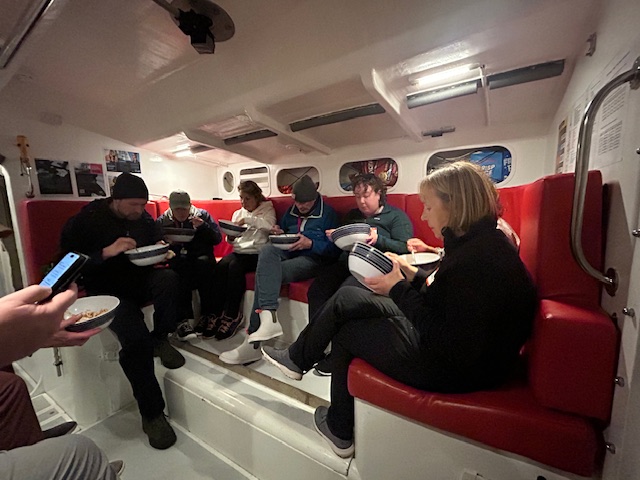
“Mother” duty is one of a number of roles on board and is principally about making sure that the crew are fed and watered throughout the day.
Meal plans are prepared, and victuallers have worked out the quantities of ingredients etc. so we followed Nigel’s instructions to the letter … no going off-piste with the recipes!
Other roles on board during training include Engineers, Navigators and Deckhands.
Engineers will check the engine, filters and belts, fuel and water pumps and bilges etc.
Deckhands will check things like the pulpit, pushpit and guard rails, the quadrant (cable based for turning the rudder), the danbuoys and horseshoe life belts, and the jackstays for the safety tethers.
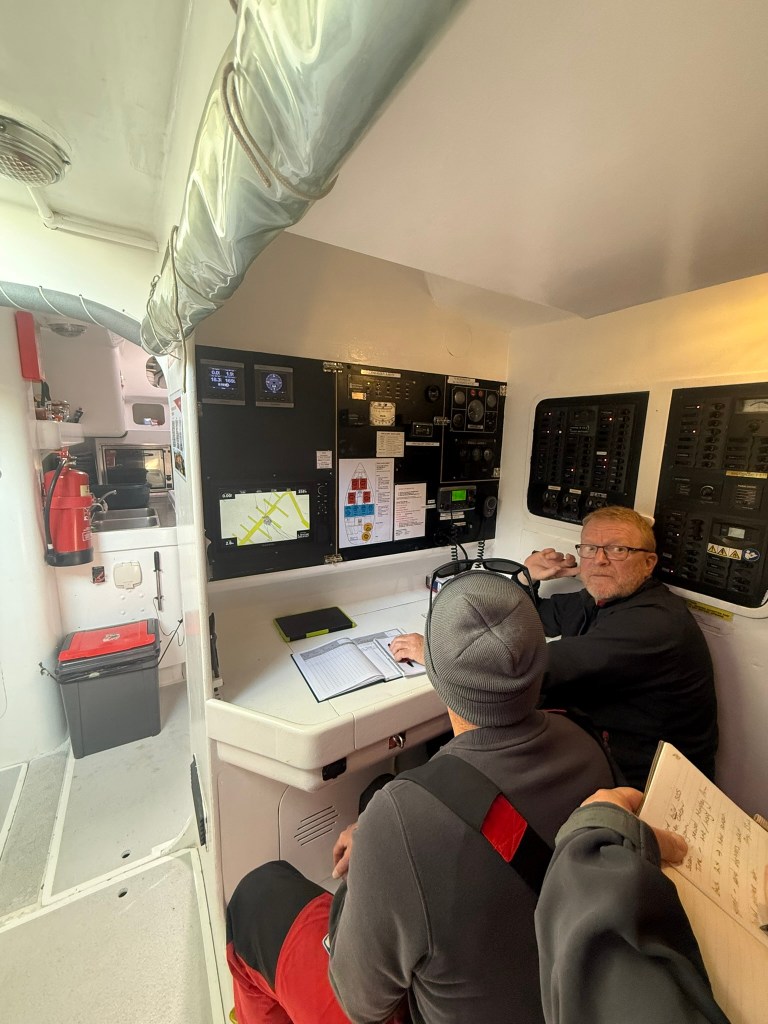
Navigators will be responsible for the log book, recording information on boat checks, tides, weather and sea state, passage plan, crew on board etc.
We were broken into two watches … port and starboard … although we wouldn’t be sailing on a watch system on Level 1 and there were at least 2 people allocated to each role. We were also numbered for a quick muster call, and our number then aligned to our storage in the wet locker for foulies.
Moving about the boat and safety
On deck, there is a demarcated Cockpit Cautionary Zone (CCZ) around the traveller and under the boom and with a slightly larger area for downwind sailing when a gybe might occur.
A few key items to note:
- Never pass anything over (or step over) the traveller. You can go around … or under (actually part of an agility assessment)
- Don’t pass the CCZ on the low or leeward side … in general you should be away from the low side anyway … and definitely don’t go back if you have been caught (beer fines will rack up quickly if you do)
- Safety tethers should be used when you feel you want to, but specifically if
- the skipper tells you
- the true wind is called at 15 knots
- at night
- working on the foredeck
- during a Man Overboard (MOB)
Man Overboard / MOB
We conducted dry run MOB drills while moored on the pontoon, as well as a few drills out on the water.
There is a lot to remember in an MOB drill … and I’m sure there will be a lot more undertaken throughout training … some with warning and some without …
There are four key steps that Clipper wants you to remember … which I believe are (I will correct it after L2 and L3 if I remembered incorrectly … I had better get it right as its part of the repeat assessments!):
- 1. Shout: “Man Overboard” or “Man Overboard, Tethered”
- 2. Point: Locate the casualty, and someone will be nominated to always point and watch
- (Tether): Something our crew added as a reminder … remaining crew on deck need to tether to jackstays
- 3. Throw: Danbuoy and horse shoe life belt thrown into water
- (Stop): Crash stop / heave to and drop sails, and start engine when confirmed clear of lines and casualty
- 4. Press: Press the MOB on the GPS plotter to record the MOB location
- Interesting point to note – if there was a second MOB during the rescue, and the MOB plotter is pressed again, it clears the previous waypoint for the first MOB. Also, the second MOB is prioritised over the first MOB. Another reason to be extra vigilant with tethers and safety during a rescue!
Clipper has developed and continued to develop a process for MOB, and using tools and techniques that have evolved over time and are often adopted by others.
In the rescue kit, there is a scramble net, for example, to be put over the side by the gate in the guard rails as it can help the casualty or rescue swimmer hook an elbow in when the boat is close.
The MOB also involves the rescue swimmer going in the water on one of the halyards that were previously attached to the sails now dropped. Usually, it is the Starboard Staysail halyard for Swimmer (SSS) and it will also be on the starboard winch in the snake pit.
The second halyard for the casualty is on the port winch, and both halyards / winches are renamed as Swimmer and Casualty to enable coordinated movement during the rescue.
The nominated rescue swimmer is in an emergency dry suit, and has a large scaffold hook to help secure the casualty around their lifejacket straps and webbing. Not a normal piece of kit seen on board, but you can see the size and likely effectiveness when dealing with rough and cold weather etc. vs using small tether carabiners.

Once the casualty is hooked and secured by the rescue swimmer, the Swimmer and Casualty halyards are winched in a coordinated manner to bring both on board together.
There are other permutations to the process, e.g. for a “Man Overboard, Tethered” which are slightly different.
Evolutions
Evolutions, or sailing manoeuvres / actions e.g. hoists, tacks and gybes, follow a clearly defined sequence and an evolution leader must communicate and delegate to crew and ensure all are ready.
We were advised to follow the acronym of PETT or PET2 which stands for
- Preparation
- Evolution
- Trim
- Tidy
Below are the two “basic” evolutions and the sequence of events … but basic fills like a misnomer! The below steps are simplified!
Tacking
The Clipper yachts are cutter rigs rather than sloops, meaning they have two headsails – a yankee and a staysail.
Due to the loads on the mast, the yachts also have running backstays which provide counter tension.
There are therefore a lot of winches in use under sail, and there is quite a lot of activity in a tacking evolution.
During training we did a number of dry runs while moored on the pontoon, before heading out to undertake a “tackathon” wherein we performed a number of tack evolutions, and each person performed each key role at least twice in sequence … moving from one tack to another and back again.
This drilling really helps with the muscle memory. There is a lot to take in and the old adage of “slow is smooth, and smooth is fast” is important here. Eventually the speed will be built with familiarity and practice of technique.
With tacking, during upwind sailing, there are also four key commands from the helmsman to be aware of:
- “Ready to tack, runner back” – Crew move into position, and leeward runner is moved back, preparing to take up the load transfer on the mast after the tack (the active or working runner winch is on the windward side, or opposite the leeward side, as it is countering the force of the wind in the sail and keeping the mast from flexing too much)
- “Ready about” – All crew involved in the evolution to confirm they are in positions and ready to tack
- “Helms to Lee” – Helmsman initiates the tack, turning through the wind. At the same time, the working runner is moved forward to midships to provide a guard for the crew against flapping sheets of the headsails. Headsails won’t be released until the guard position is confirmed and the final call …
- “Lee Ho” – Yankee and staysail sheets are released or “let fly” and pulled through to the new working side and then trimmed
Gybing
A gybe during downwind sailing can be one of the more dangerous evolutions as it involves the boom moving across the cockpit with the mainsail. There is a significant weight in the boom and sail, and this has been a significant contributor to fatalities in sailing in the past.
As the boom is out to the side of the yacht, to present a large sail area to the wind, it is secured with foreguys (or very large preventers) that mitigate the risk of an accidental crash gybe … wherein the boom would move at high speed across the cockpit.
This adds a bit more complexity to the evolution again, but there are a similar set of four commands to be aware of:

- “Standby to gybe, centre the main” – Crew move into position, the main traveller is centred, foreguys are eased and main is centred, leeward runner moved aft
- “Ready to Gybe” – All crew involved in the evolution to confirm they are in positions and ready to gybe
- “Helms to Weather” – Helmsman initiates the gybe, bearing away. Headsails are eased to pull through to new side and the working runner is taken forward while the lazy (inactive) runner is ground on to become the working runner
- “Gybe Ho” – Main is gybed through the wind and eased, foreguys are reset as safety preventers
Knots
It wouldn’t be a sailing blog without some discussion on knots!

Knots feature in the Crew Assessment and there are 6 key knots to be aware of which you will use and be tested on:
- Clove hitch – attaches a rope to something like a bar or ring, often used for fenders
- Admiralty Knot – a stopper knot, usually on sheets to prevent them coming out of the cars and pulleys etc.
- Bowline – used a lot to secure sheets to sails, and in mooring, the bowline doesn’t slip under load, and can still be undone after significant load
- Round turn and Two Half Hitches – also attaches a rope to something like a bar or ring and can be easily undone
- Slipped Half Hitch – a “quick release” knot, often used for sail ties
- Tugmans Hitch – secures a line over a winch or bollard, and also useful if the line is larger than the winch cleat plates. It mitigates the risk of a winch mechanically failing by spreading the load and providing counter tension
Other Level 1 Learnings
In addition, we also learnt about hoisting the main sail, and foresails and sail changes, reefing, sail lowering, flaking and storage.

Race Crew Assessment
In the assessment, there are also questions on Points of Sail, Mooring Lines, Parts of a Sail and Deck Gear … a few handy diagrams below


It’s all part of learning new terminology, and the language of sailing so that we can communicate more effectively and clearly.
Oh … and there is a pass rate on the assessment, so it was taken very seriously by me and my crew mates!
Other reflections and learnings
By the end of the week, while we hadn’t done a significant amount of sailing … we only covered about 100 NM in total … it’s not a surprise to feel a little overwhelmed.
The teaching is intense, and volume of new information is significant, but Nigel and Iain were extremely patient and clear and made the whole experience enjoyable for all.
Our last duty on the final day was a deep clean of the boat before the next crew took it on … and its honestly not to be underestimated … its probably a good 6 hours of manual work for all the crew!
Other things I, and other crew members, learnt along the way included:
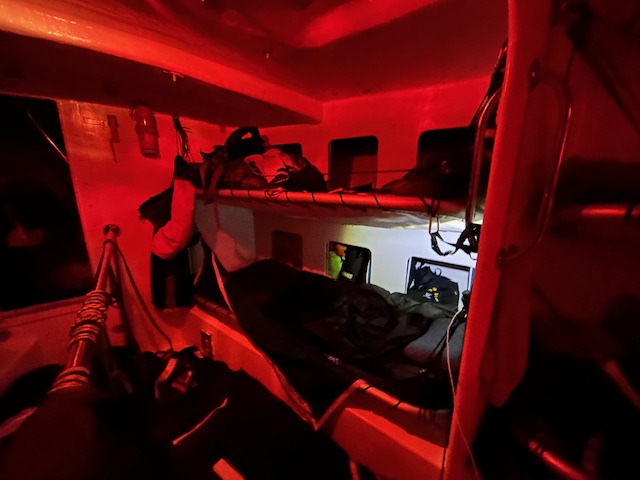
- Ear plugs are worth having to sleep well … the ghetto is close proximity!
- Think about organising your unpacking carefully into the space you have allocated … it’s not always easy to find quickly when you want
- Not all bunks are created equal … there are pros and cons! Think about walking routes, where sails are stored, top vs bottom, proximity to hatches etc!
- You will overpack, so try to take note of what you used and valued, and what you didn’t
- Keep your wet notes with you at all time …
- Knee pads can really help … although the HPX foulies have some integrated padding
- Read the training materials …
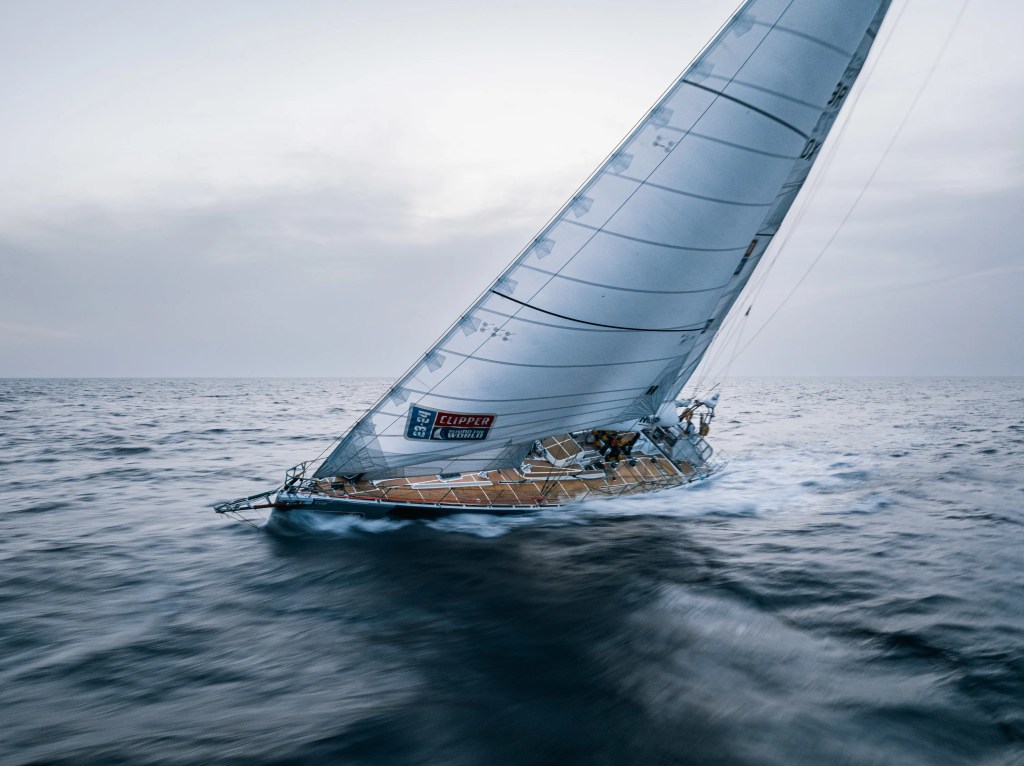
Some pictures from life on board


What’s up next?
In a few days I will have my Level 2 and Level 3 with a day in between, so a bit more intense training and more comparison to a longer time on board.
Following that, I have a break in training for a few weeks before Level 4, but on 17 May we will have the Crew Allocation Day … which is when we will find out who our Skipper is, which boat we are on and who our team mates will be.
I’m very excited to meet the Skipper, but also the other circumnavigators with whom I will spend close to a year of my life!
Other news
The main reason I didn’t get around to this update straight after training is that I had been frantically ferrying personal effects and furniture etc. from my old home into container storage. I really struggled to sell the furniture so a lot more ended up in storage, and has taken up space due to odd shapes of sofas and chairs etc. Unfortunately, this means I need more storage …
On the budget front for Clipper, I’m on track … if even perhaps a little under budget currently! However, the Defender has been eating up a lot of my liquidity as it has work done to make it a bit more comfortable for travelling and living in. It’s not been a great environment to sell cars recently, so at the moment liquidity is tight but manageable until I can unlock capital!
Externally the Defender is basically there, but it’s the internals that need some work …

It won’t be that easy now I don’t have a home to work from, but a friend has some space I can use occasionally. I just don’t want to become a burden so will be trying to focus on getting this done quickly when I get back from L2 and L3 training.
I still have a host of life admin to sort out, like insurance and utility bills etc. but also now have new things coming from Clipper, like organising visas. I went through the new US Visa requirements a few weeks ago and have to have an interview in London but the first slot was at the end of July!
The US requirements are causing a lot of crew members stress and frustration …
Enjoyed this post? Never miss out on future posts by following me!
